How to Make a ZBrush Timelapse like Follygon
How to Make a ZBrush Timelapse like Follygon
Couldn't load pickup availability
You’ve seen my ZBrush timelapse videos. Now it’s time to learn how I make them. This heavily requested tutorial walks you step by step through my exact workflow for creating professional timelapses inside ZBrush.
Whether you want to share your sculpts online, grow your audience, or simply keep a visual record of your process, this tutorial will show you how.
What You’ll Learn:
- How to set up ZBrush for timelapse recording
- My workflow for keeping everything smooth and watchable
- 3 Unique Timelapse Methods: Static Showcase, Guided Progress, Cinematic Spin
- Exporting and preparing your timelapse for sharing
- Tips to make your timelapse stand out
- Settings for the best quality and speed
Who It’s For:
- Artists who want to share their work in a professional, engaging way
- Anyone curious about the behind-the-scenes of Follygon’s timelapse videos
- ZBrush users looking to add more polish to their presentation
Includes:
- Full video tutorial walking through my process
- Step-by-step breakdowns
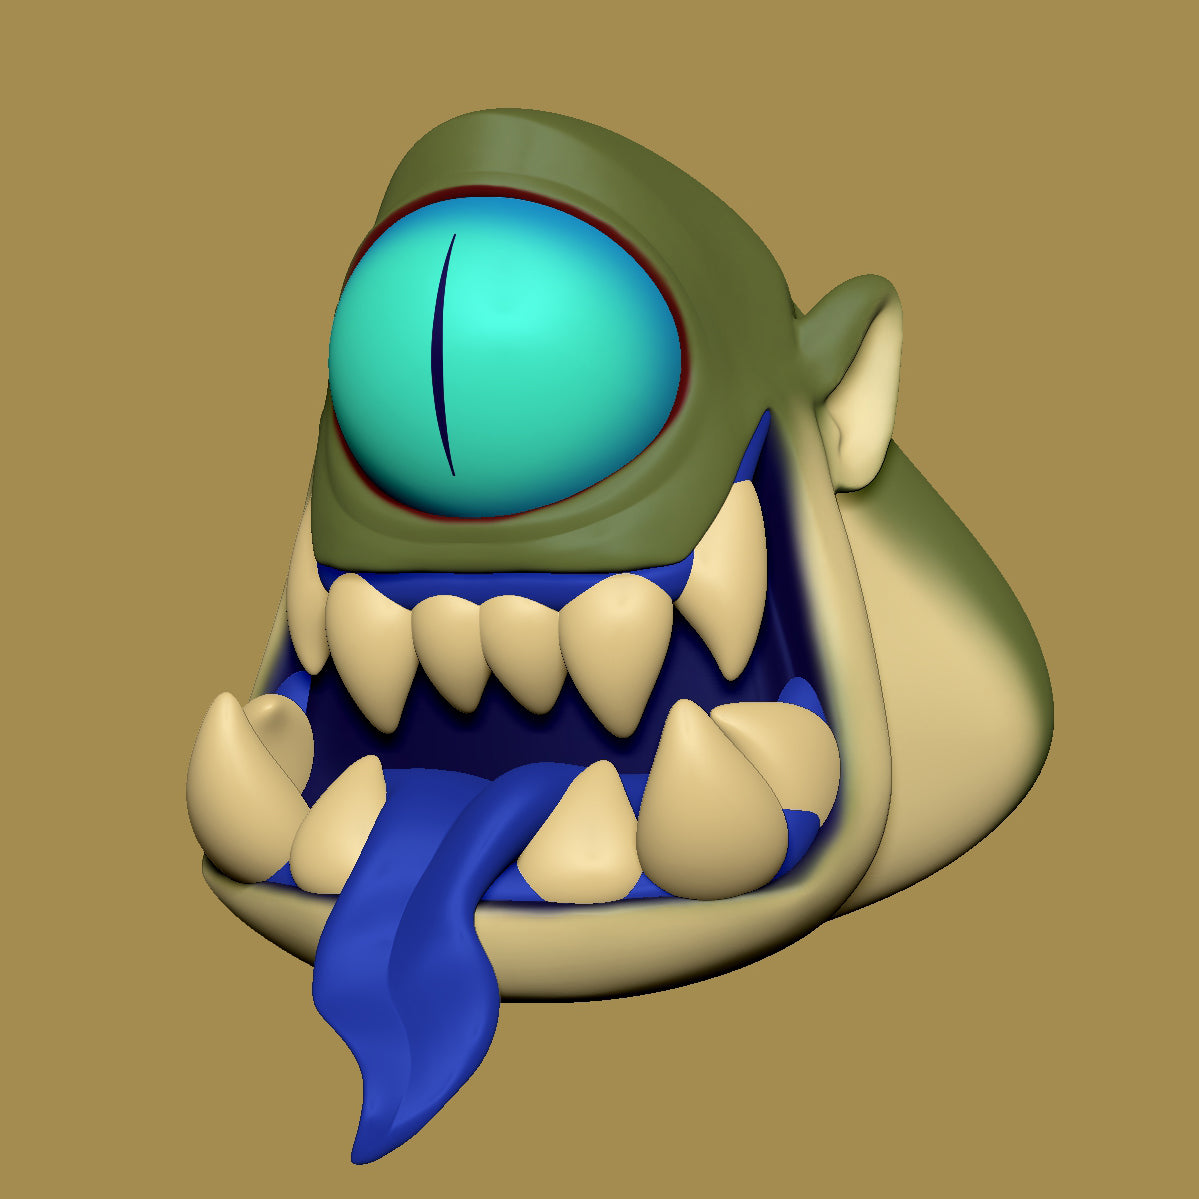
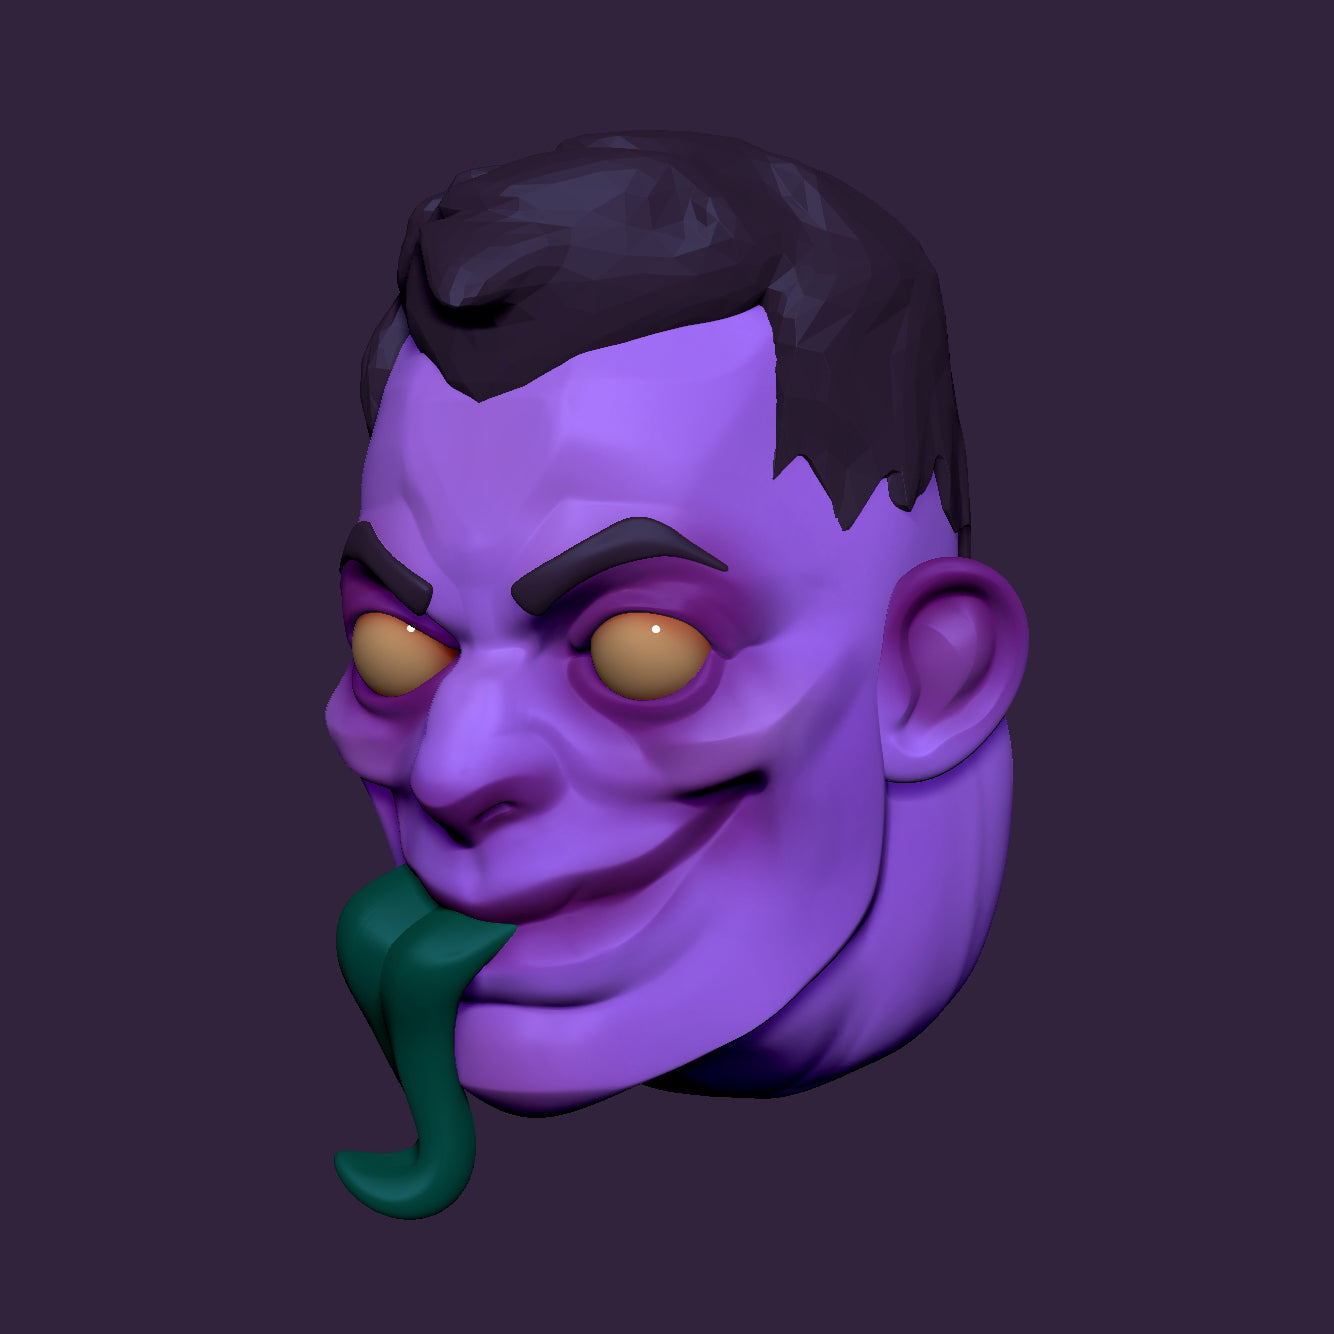
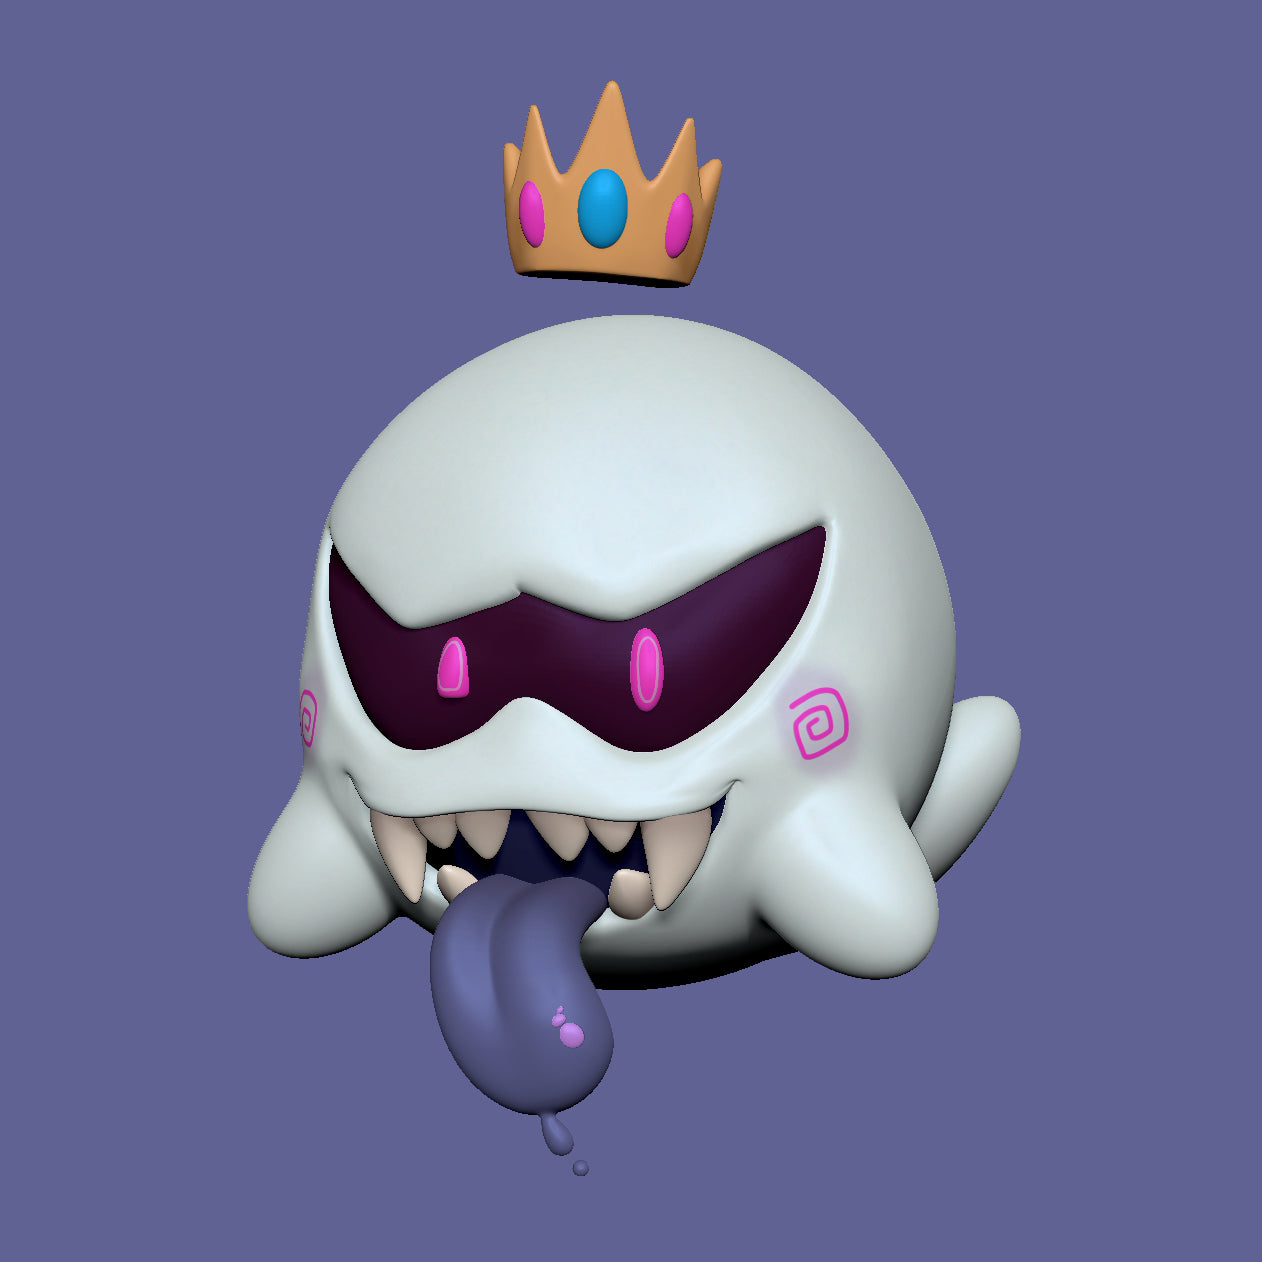
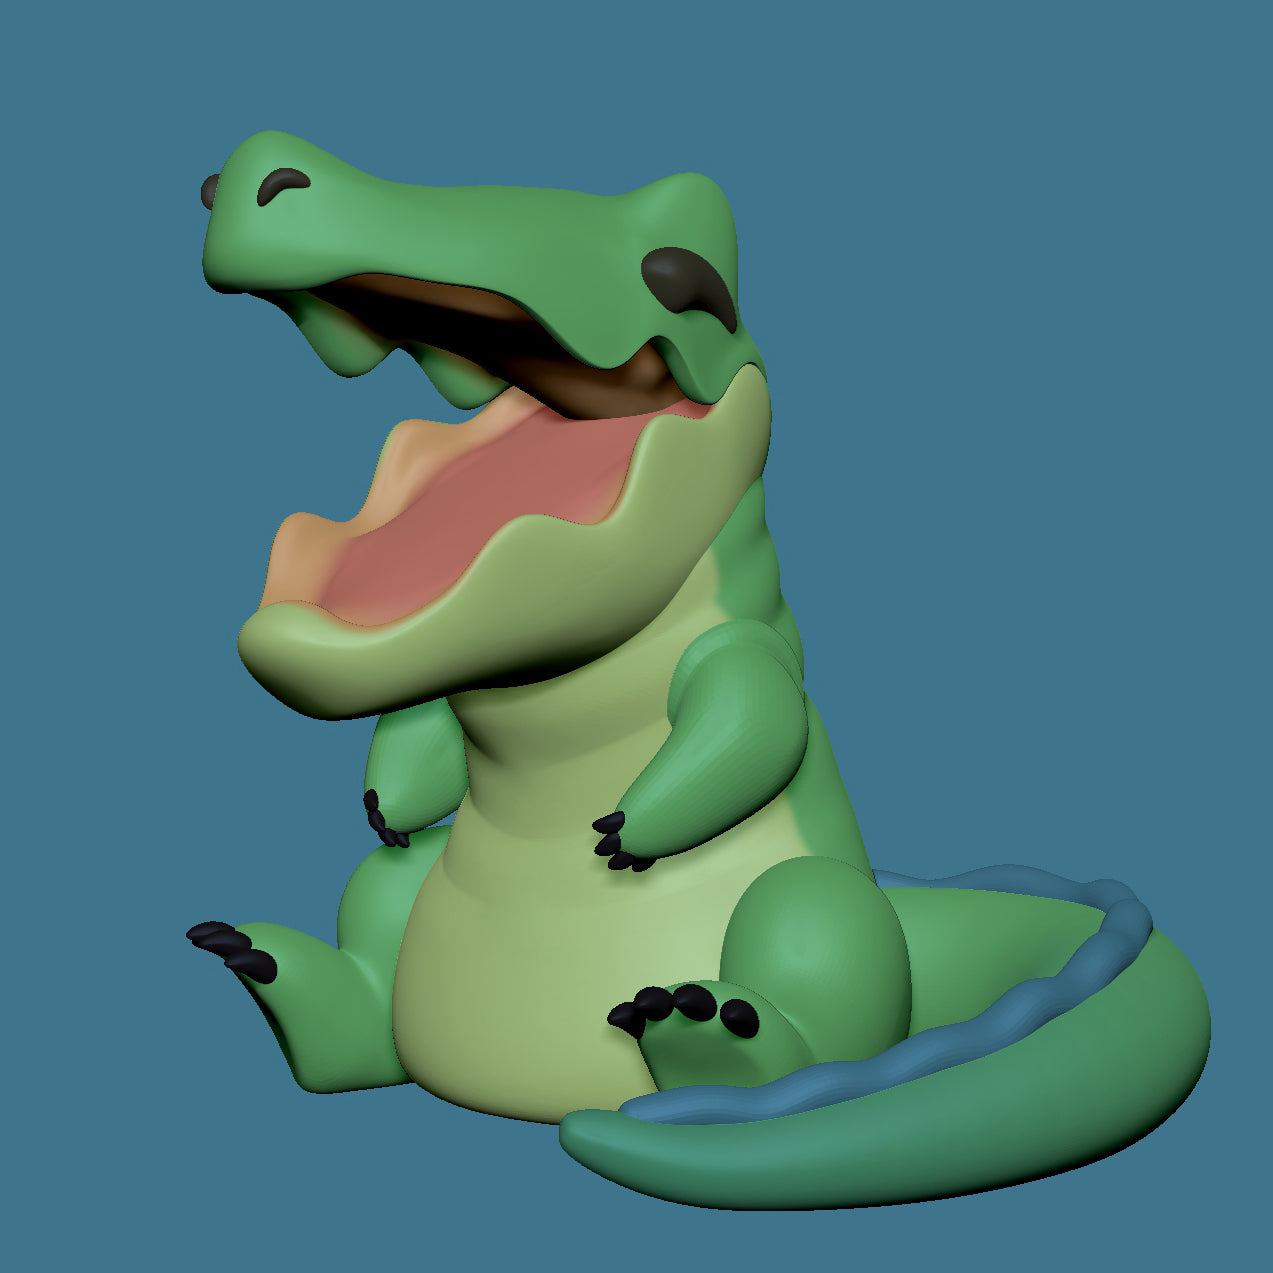
- 4 Unique ZBrush Example Projects
- Quick reference notes for setup and export
- Behind-the-scenes tips I use on my own timelapses
I'll also be sharing with you all the little things I do during a sculpt that make my timelapses smooth, clean, and professional. From simple habits that save hours to subtle tricks that keep the final video looking polished, these insider tips are the difference between a “basic screen recording” and a timelapse that people actually want to watch.
Chapters:
- Welcome!
- Timelapse Setup and Preparation
- Document Setup
- Modifiers Basics
- Recording a Turntable
- Undo History Basics
- Static Showcase
- Guided Progress
- Cinematic Spin
- Editing Tips
- Vertical Resolution Tips
- Sculpting Tips
- Goodbye For Now